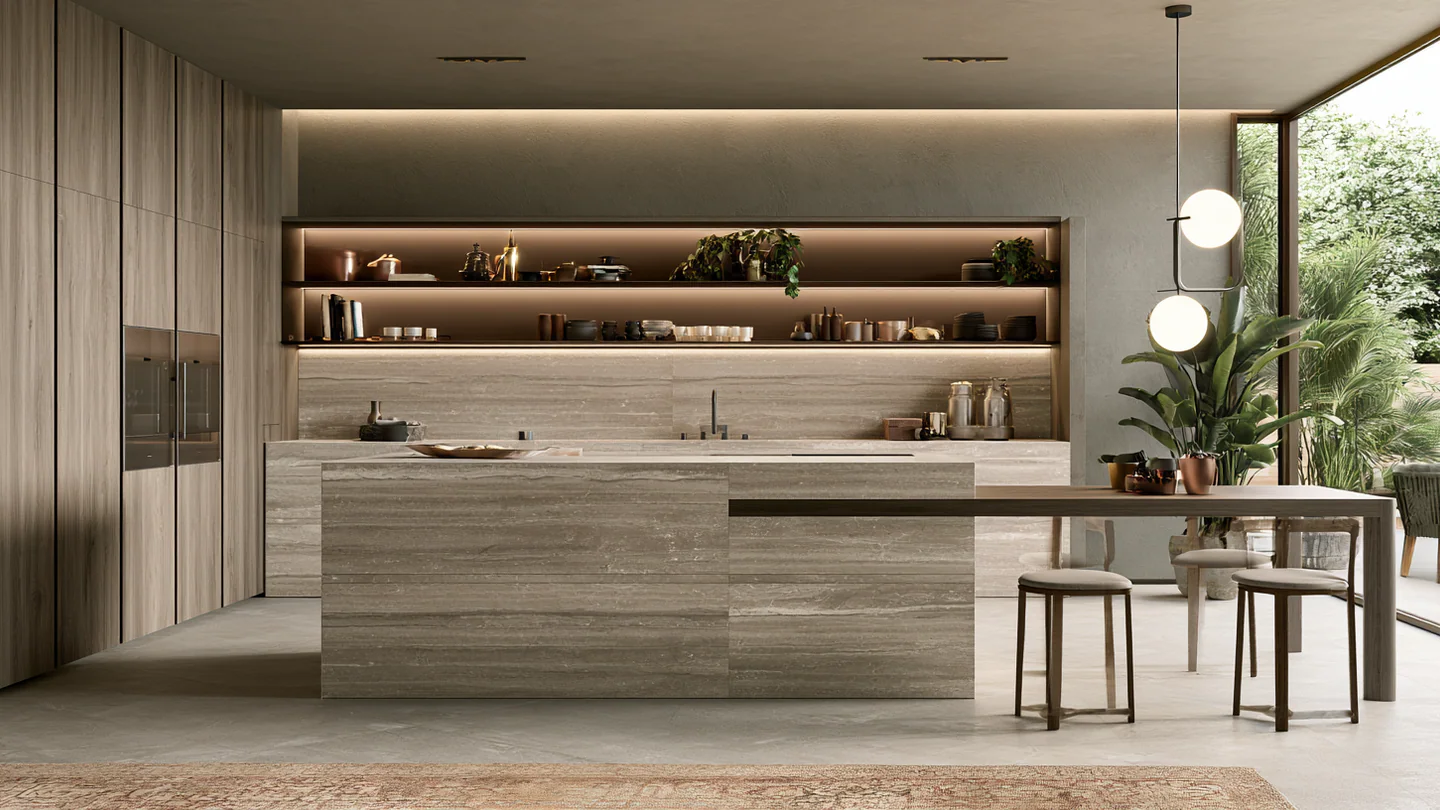
Sintered stone can give cabinetry the visual weight of a continuous architectural surface, especially where large planes and coordinated finishes lead the concept. It should be treated as part of a cabinet and fabrication system, not as a decorative label applied after the layout is complete.
Think in surface systems
Begin by deciding what the stone direction is meant to achieve. It may connect fronts to a worktop, continue a wall finish, create a monolithic island or give a display volume a more architectural presence. That intent determines which faces need coordination and which can remain in another material.
The sintered stone material page outlines current configurations, material options and application priorities. Use it to start a material discussion, then supply drawings that identify every proposed surface.
Use large planes deliberately
Large uninterrupted planes make pattern, color and joint placement highly visible. Review complete elevations rather than isolated samples. A dramatic pattern may suit one central island but compete with objects in a display setting. A quieter surface may support a long wall of cabinetry without dominating the room.
For custom kitchen cabinets, compare the stone-led elevation with appliance fronts, splashbacks, flooring and lighting. Decide where continuity matters and where a change of material creates a useful break.
Coordinate fronts and adjacent surfaces
Stone-faced fronts can be combined with metal, wood, glass or painted elements. Draw each transition and define which trade controls the line. Check door gaps, handle details, end panels and internal views when a door is open. A convincing closed elevation should not create awkward edges in daily use.
On custom display cabinets, consider whether the surface should frame the objects or become the focal point itself. Lighting color and intensity can alter both the stone appearance and the displayed items, so samples should be reviewed with the proposed illumination.
Detail edges, support and openings
Edges and cutouts need early fabricator coordination. Show sinks, taps, sockets, ventilation openings, hinges, pulls and access panels on the drawings. The supporting cabinet construction must be developed for the selected assembly and module sizes. Site professionals should verify structural and installation requirements for the actual project.
Avoid designing a visual plane that cannot be transported, handled or installed through the available route. Confirm module divisions and access before final approval, then align package and drawing references.
Control pattern direction
Pattern direction should be shown on elevations, not described only in text. Identify where adjacent pieces should align, where book-matching or continuity is desired, and where variation is acceptable. Review how corners turn and how the pattern meets worktops, walls and neighboring fronts.
Digital layouts can help communicate intent, but final approval should use the agreed sample and fabrication information. Natural-looking variation may be part of the design; it still needs a shared expectation.
Know when another material is clearer
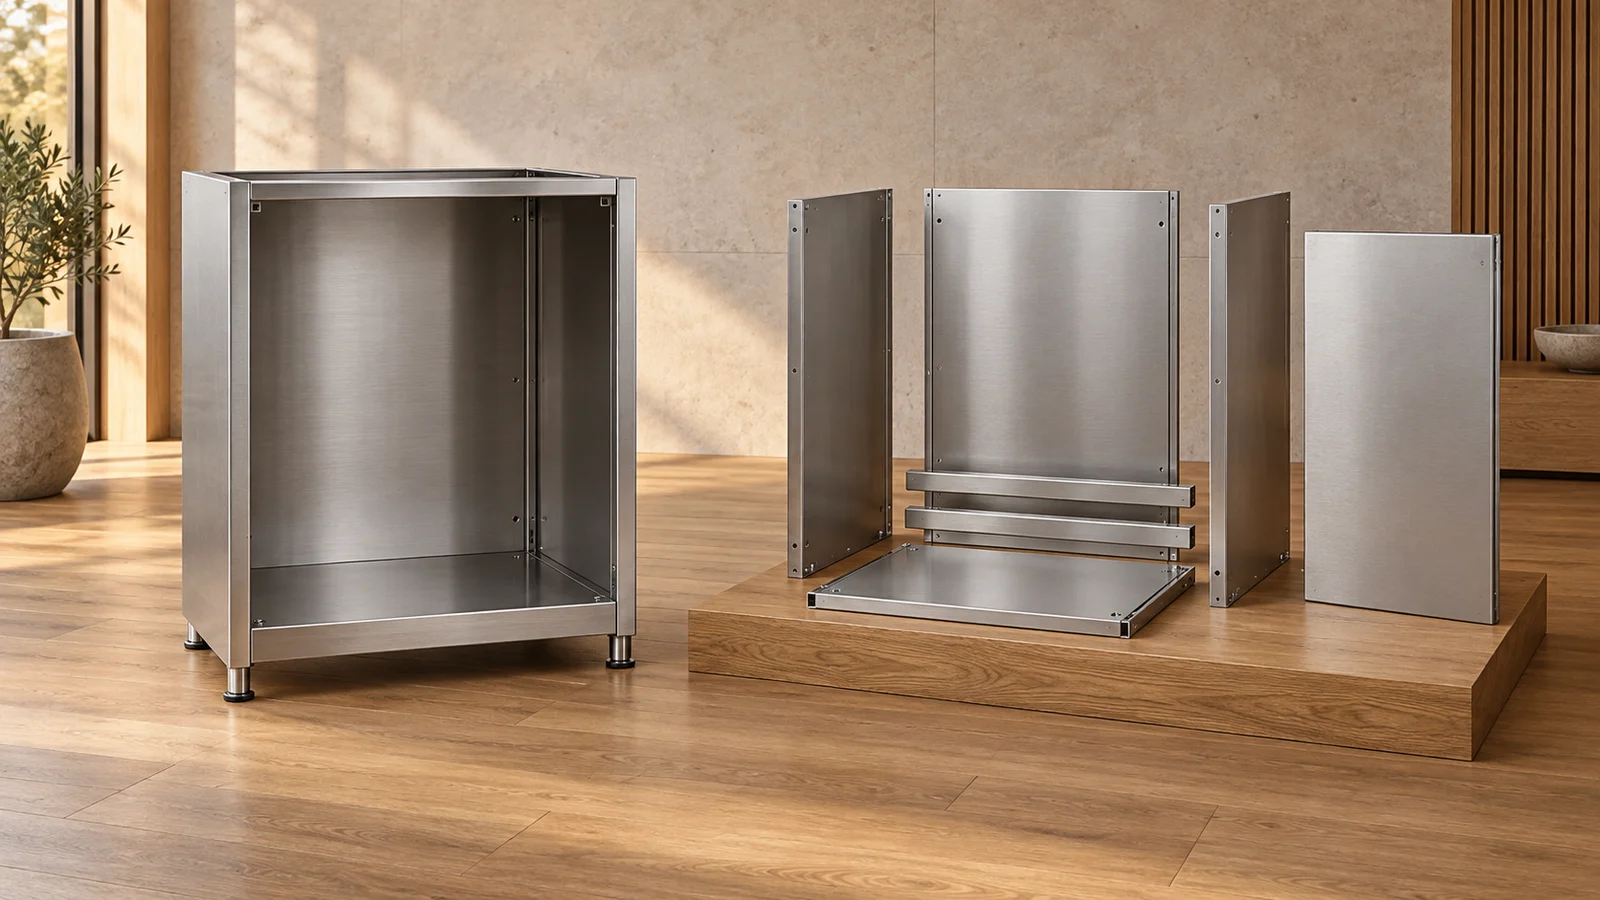
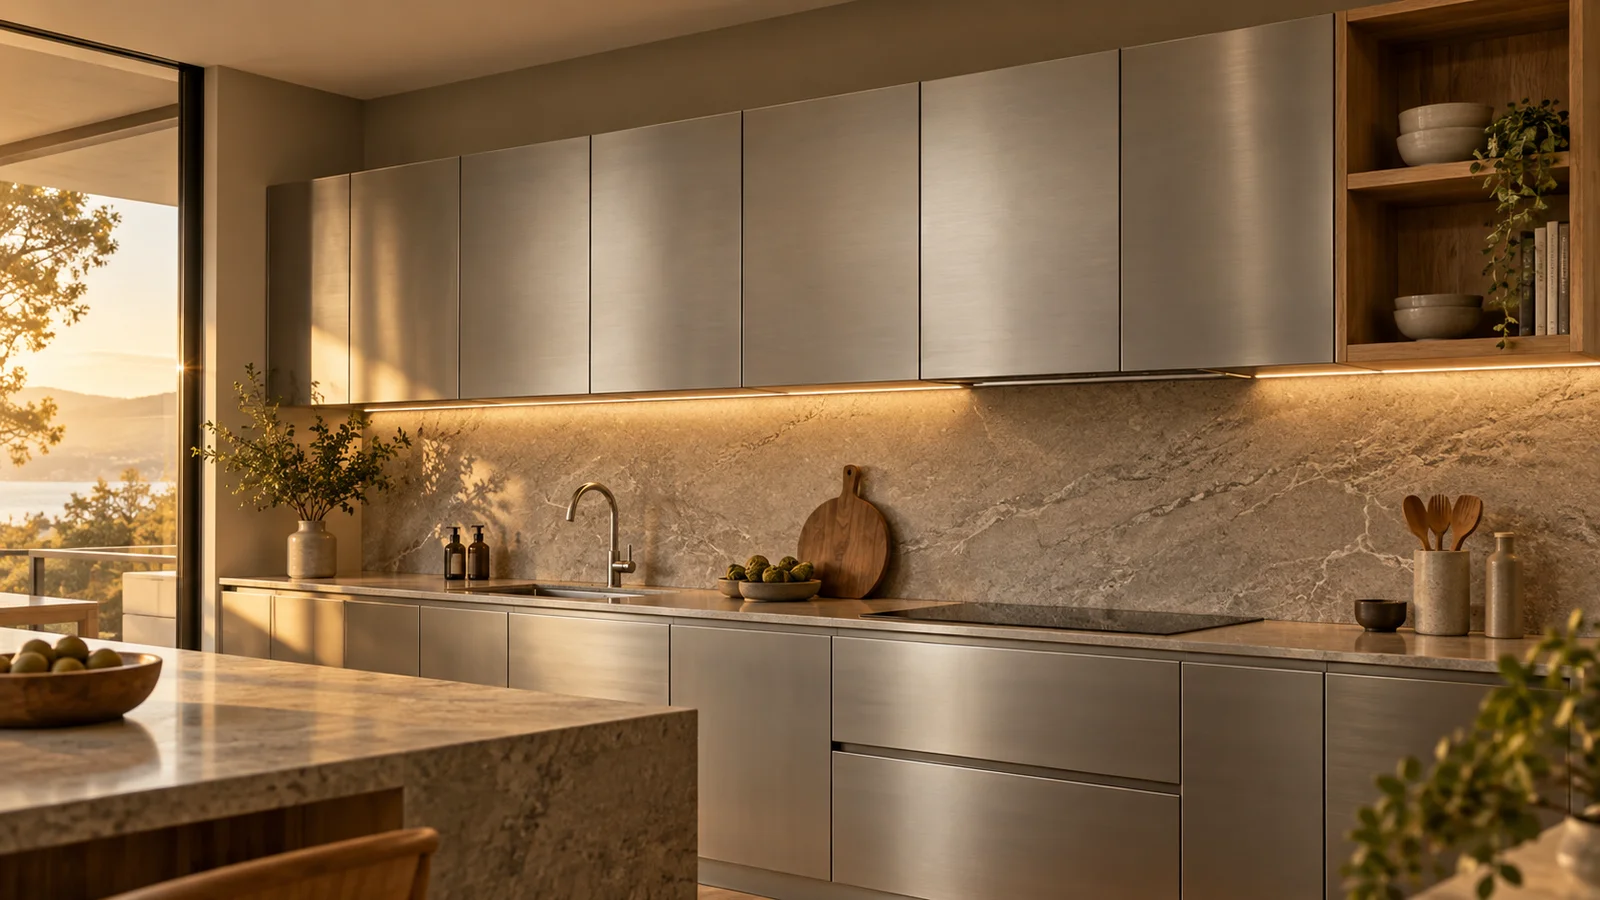
Sintered stone is not necessary on every cabinet. Stainless steel may better support a continuous work-zone language, aluminum may suit a slim framed direction, and wood may provide the warmth or tactile quality the room needs. Mixed-material schemes can be effective when each material has a clear role.
Send plans, elevations, intended surface areas, opening details, pattern references, adjacent materials and access constraints with the enquiry. Those inputs allow the cabinetmaker and fabricator to assess where a stone-led solution is visually coherent and technically coordinated.